
Here is a tip I picked up recently about creating “Blank dimensions” in Revit, which I wanted to share with you all quickly.
Often times when Drafting we need to add notes to dimensions, or have an indicator showing a note refers to an area between two points. This is where we need a “Blank Dimension” or a dimension without a value, to which we can then add a note. This is different to using the “replace with text” option, as usually the note is too long to fit within the dimension.
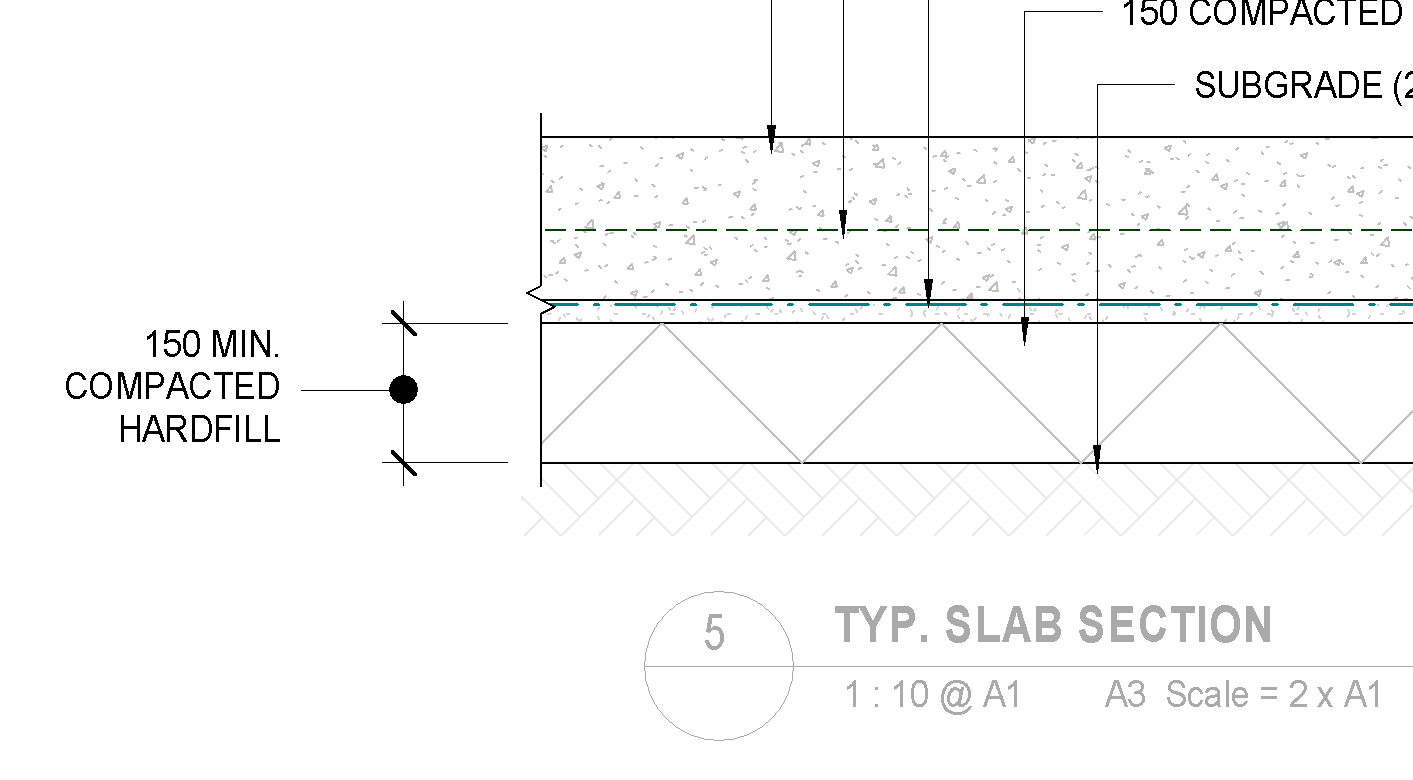
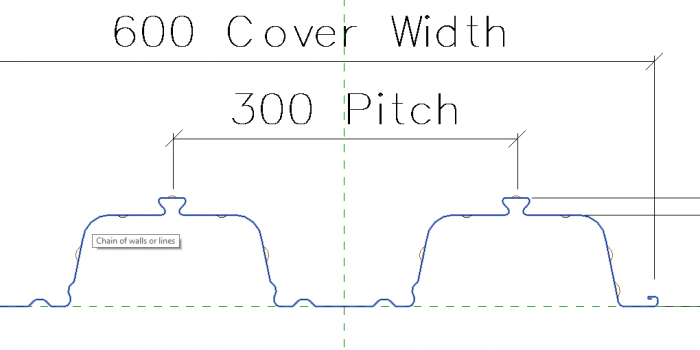
For instance, check out the situation below:
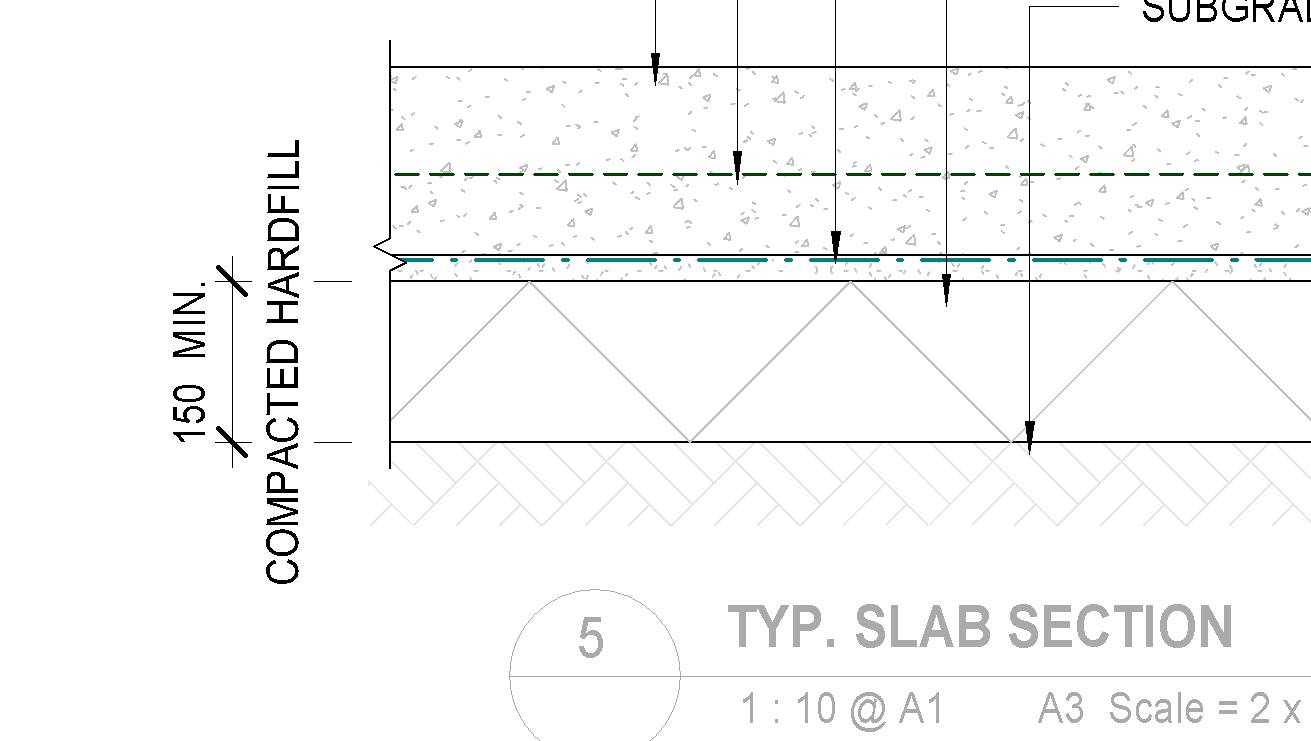
Now that looks pretty ugly.
We could use the “Replace with Text” option in this instance and utilize the “Above” and “Below” fields, but another solution is to use a blank dimension.
To do this, we need to right click within the “Replace with Text” field. Move down to the ‘Insert Unicode control character’ and on the drop down, click on US Unit seperator (Segment Seperator)
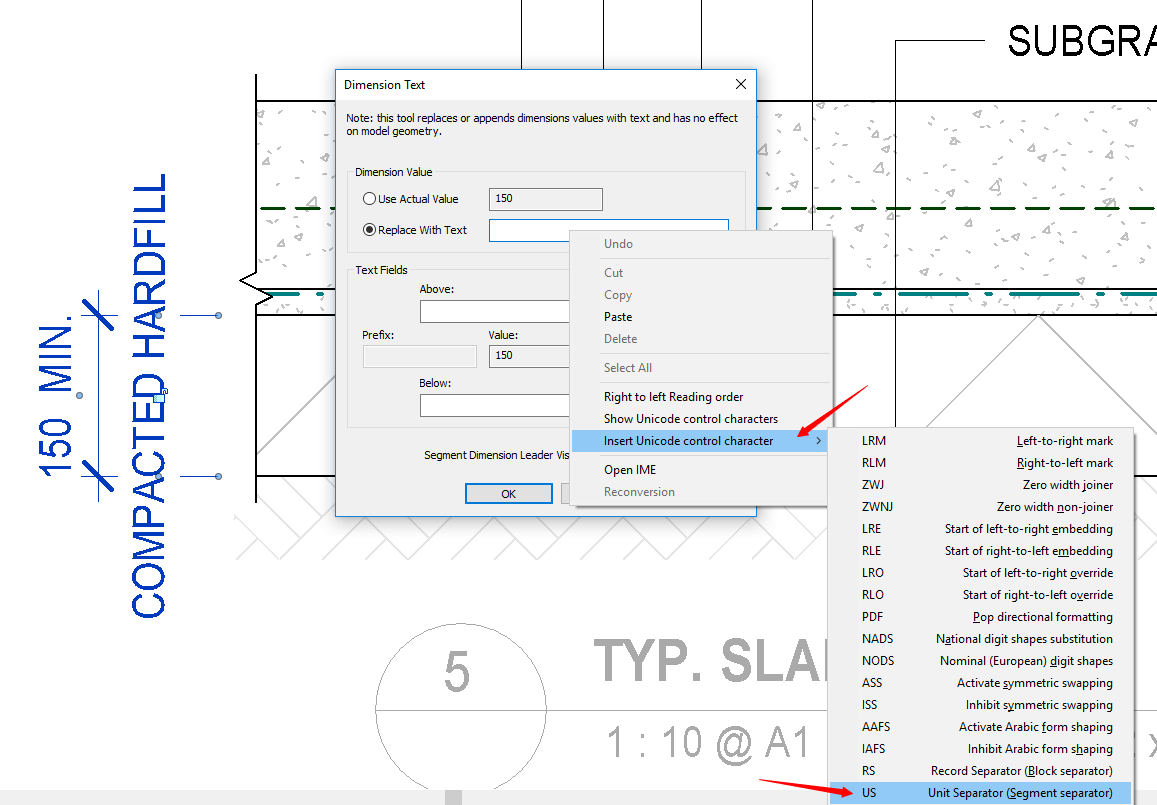
This leaves the “Replace with Text” field blank. Click OK.
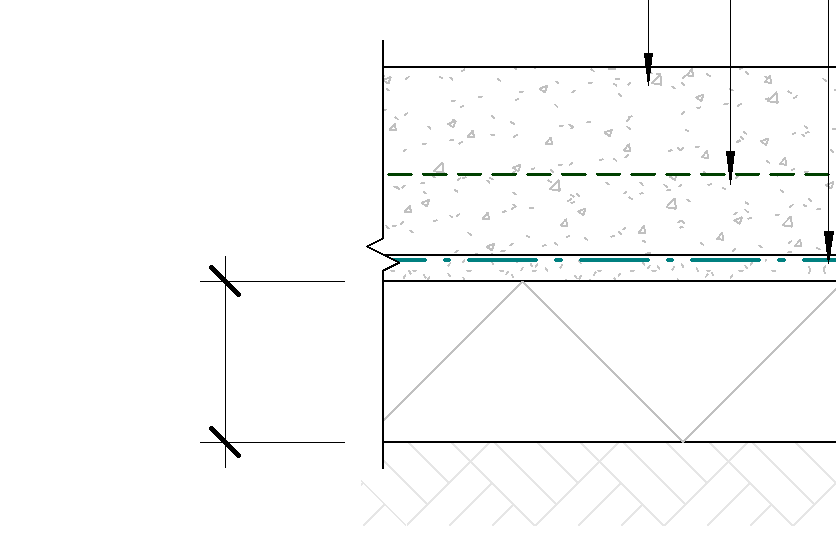
Now just add your note using text. BOOM!
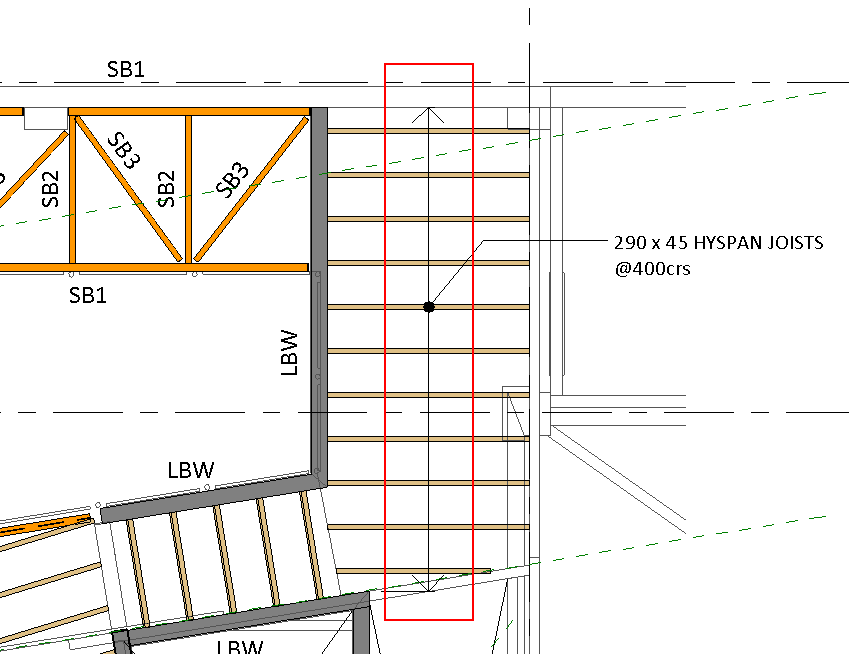
I used the same method to indicate a span of floor joists below:
As you can see it is pretty easy to create Blank Dimensions in Revit. I used to enter a dot (.) in the ‘replace with text’ field but it didn’t work nearly as well. It’s a great little tip and I’m glad I picked it up.
If you have any questions, or another tip to add then please leave a comment below!
If you found this post helpful, please feel free to share it.
-Talk soon
P.S – I’d love to connect with you on Twitter: here
Join the tribe and Subscribe!


