I was asked by a reader to explain how to create a good Revit template for your office. Creating a good template is essential to working smarter & faster, becoming more productive and saving valuable time. It is the best way to ensure consistency among your drafting team and gets your models and drawings off on the right foot. Put simply, a good Revit template is essential!
Creating a revit template is a big undertaking, so ensure you have enough time to really commit to creating it. Keep in mind that creating a good Revit template now will save you so much time in the long run! It is my intention in this blog post to share the 13 essential steps when creating your revit template. So lets begin!
What to include in a Revit template
The point of your Revit template is to save time and be consistent. Each time you start a project you don’t want to have to load the same elements every time – you want the elements you Always use to already be in place so you can hit the ground running. With that in mind, think of all the things you use consistently on every project and go from there. The following list is what I have in my own revit template, along with some tips for you to keep in mind:
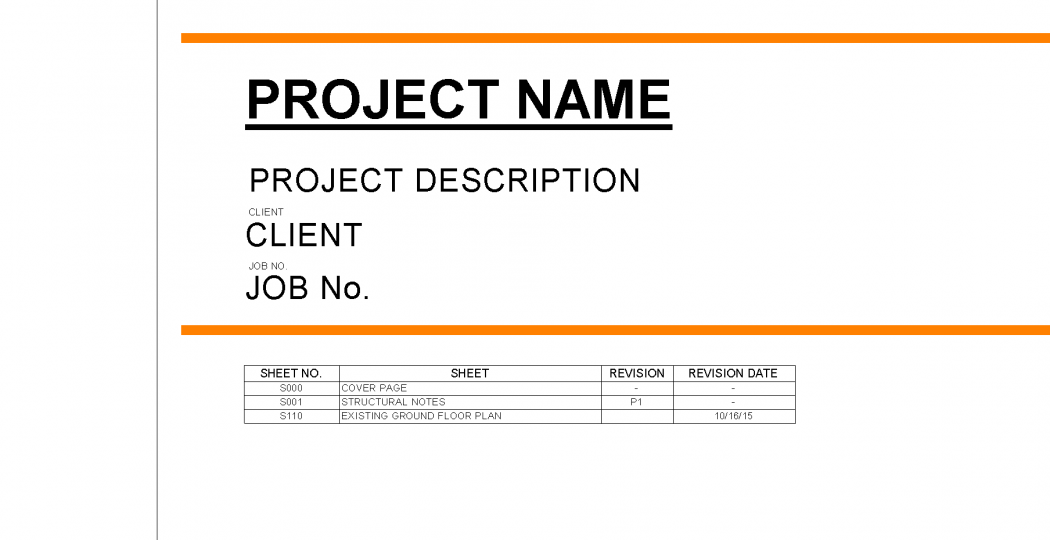
1. Cover page & Titleblocks – Every project has a cover page and at least one drawing sheet. Make sure you add your cover page and titleblock to your template file. But not only that, create drawing sheets you always have e.g Site plan, Ground floor plan, elevations etc. And don’t stop there either, do you have a general note that goes on most drawings? Create it and add it to the sheets. Create and add a sheet list if it goes on the cover page etc. Do these things once in the template so you don’t have to do them over and over again in each project.
2. General Notes Sheet / Standard details – Following on from Cover pages & Titleblocks, I have our General and Structural Notes sheets which contain reinforcement, steel work notes, lap tables, bend diagrams and other standard details. These actually took a while to get right but once they are correct in the template I don’t have to touch them again.
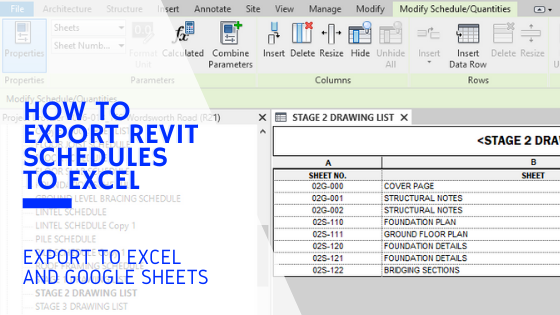
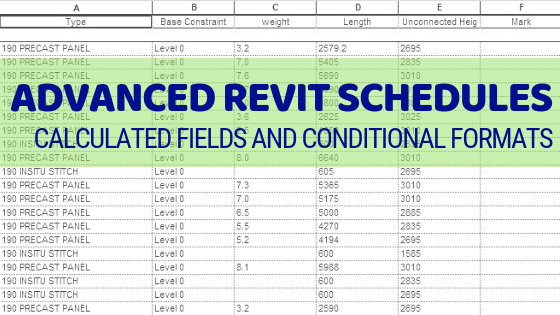
3. Schedules – I always have Column, Framing, Floor and Foundation schedules in my projects. These have been set-up and organised in my template so as I model, my schedules update on the fly.
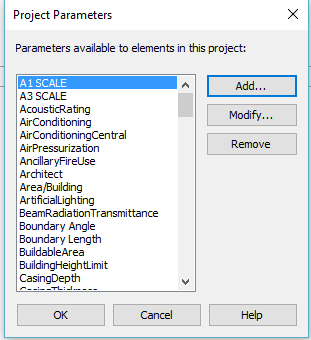
4. Project and Shared parameters – Following on from schedules, I have custom shared parameters already loaded into my template file which are included in my schedules and titleblocks/cover pages.
5. Views and View Templates – This is a big one. Take the time to create some really good view templates which you can use for a number of situations. For example I have a ‘Foundation plan’ view in my template already set-up with exactly how I want the foundations to look (Floor not visible, walls as hidden lines with foundations surface pattern set to light grey etc.). I have a Floor plan template with my ideal view range, scale and detail level already set-up. I have steelwork templates, concrete templates, stair plan and section templates….all these view templates ready to go so that when I actually do create these views they will look and behave exactly the way I want them too. Create these things once in the template so you don’t have to do them over and over again in each project.
6. Text & Dimension Styles – Have all the text size, font, leader head etc. set-up in the template. Limit the amount of variables and make it clear which style should be used for each situation. That’s the other good thing about a template, it eliminates other staff from guessing how your output should look and keeps everything consistent.
7. Tags – Load all of your company specific tags into your template. Set-up the default tags so users can just go ahead and automatically use the correct one.
8. Fill & Line styles – Create the standard fill patterns and Line styles that you use. A good tip is to name them as their function not what they look like e.g: Brick Cut Pattern instead of diagonal down 1.5mm. Or Rebar instead of Medium +1 etc.
9. Object Styles – Go over the object styles and ensure things look right. Best to get it right in the template then changing it in every project.
10. Detail components – Load or create your typical detail components. E.g I have my ‘rebar’ repeating detail components ready to go such as D16@200crs and D16 Fixed No. etc.
11. Phases – This is another one that often gets overlooked, but if you work with a lot of Existing structures then this is vitally important. Make sure your Phase filters and Graphic overrides are set to how you want them so that everything looks correct. For a long time I couldn’t figure out why the cut patterns weren’t visible in my Existing plans (Doh!)
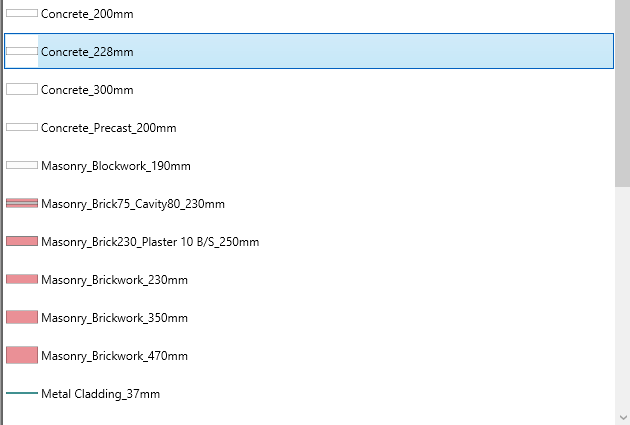
12. System Families – System families are predefined in the template and are not loaded into the project. These include Walls, Floors, ceilings and roofs. This is a good chance to set-up your most common types and follow a naming convention. For instance, I have my common wall types set up and named by <Wall type>_<Sub wall type if needed>_<wall thickness> e.g Concrete_Precast_200mm.
13. Model components – Finally, insert relevant model components for your structural revit template. There are certain components I always use – particularly steel beam types such as UB’s, PFC’s, SHS’s, EA’s, some steel connections, timber framing and also various concrete beams. I choose to load most – if not all of the types within these families. There is a theory that you should be prudent with the amount of families you load into your template to avoid large file sizes. While that makes sense, I feel its more worthwhile to load all of your most common families so you can save time having to load them in each project. In my opinion its much more beneficial from a time perspective, and I have never had a really slow model due to too many families loaded in the template. So its up to you, it’s good to try and find a nice balance (If you do experience a slow revit session read this to help speed things up).
There is no right or wrong, or ‘one-size-fits-all’ template, it all depends on your office standards and workflows. These are the main things I have included in my own revit template. Hopefully it has helped you to create or improve on your own. A long with your company’s Revit standards manual, your Revit template is the most important tool to producing quality, consistent models and drawings as fast as possible.
If you have any questions, or have some more tips for creating a Revit template then please leave a comment below!
If you found this post helpful, please feel free to share it.
-Talk soon
P.S – I’d love to connect with you on Twitter: here
Join the tribe and Subscribe!

